2-Ingredient Watermelon Sherbet – The 1950s Summer Freezer Treat Worth Making Again
Summer dessert doesn’t get simpler than this 2-ingredient watermelon sherbet recipe, and that’s exactly why it made the rounds at every backyard cookout and church social from the 1950s onward. I pull this one out the moment good watermelons show up at the market, and it never once requires me to turn on the oven.
This post may contain affiliate link(s). As an Amazon Associate, I earn from qualifying purchases. See Disclosures.
It works because watermelon, at peak summer ripeness, is sweet enough and flavorful enough to carry the whole thing. Two ingredients, a freezer, and about ten minutes of hands-on time. That’s the deal.
The Backyard Table

Get it NOW and level up your outdoor dining! The Backyard Table - Recipes for Summer Cookouts features 34 of Chef Jenn's BEST recipes for outdoor eating and entertaining.
You'll get ad-free recipes like:
- Grilled Corn Guacamole
- Grilled French Onion Burgers
- Deviled Egg Pasta Salad
- Blueberry Grunt
- and so many more!
Every recipe is created, tested and loved by Chef Jenn and her family - there's no AI here!
Get it now, at a special introductory price of $7.99. That's over 50 pages of foodie love at your fingertips!
Buy Now!Chef Jenn’s Take on 2-Ingredient Watermelon Sherbet
Most people assume a sherbet this short on ingredients must cut corners on flavor. It doesn’t, and the reason is simple: the recipe was designed around watermelon at its best. Every modernized version I’ve seen adds lemon juice, simple syrup, sweetened condensed milk, or a handful of other things that dilute what makes watermelon sherbet worth making. The original two-ingredient approach trusted the fruit.
The key insight: don’t skip the straining step if your watermelon has any fibrous texture. A smooth base is what separates sherbet from a granita, and that texture distinction matters more in a two-ingredient recipe than in one with a dozen components.
History of 2-Ingredient Watermelon Sherbet
Simple fruit sherbets made with minimal ingredients were a staple of American home cooking through the 1950s and into the 1960s, an era when home refrigerators and chest freezers became widely affordable for the first time. The appeal was practical: watermelons were cheap and abundant in summer across the South and Midwest, and a two-ingredient freezer dessert required no cooking, no special equipment, and no rationed pantry staples. By the 1960s, this style of stripped-down fruit sherbet had largely disappeared from mainstream cookbooks as commercial ice cream and store-bought frozen novelties took over the freezer aisle, which is precisely why it’s worth making again.
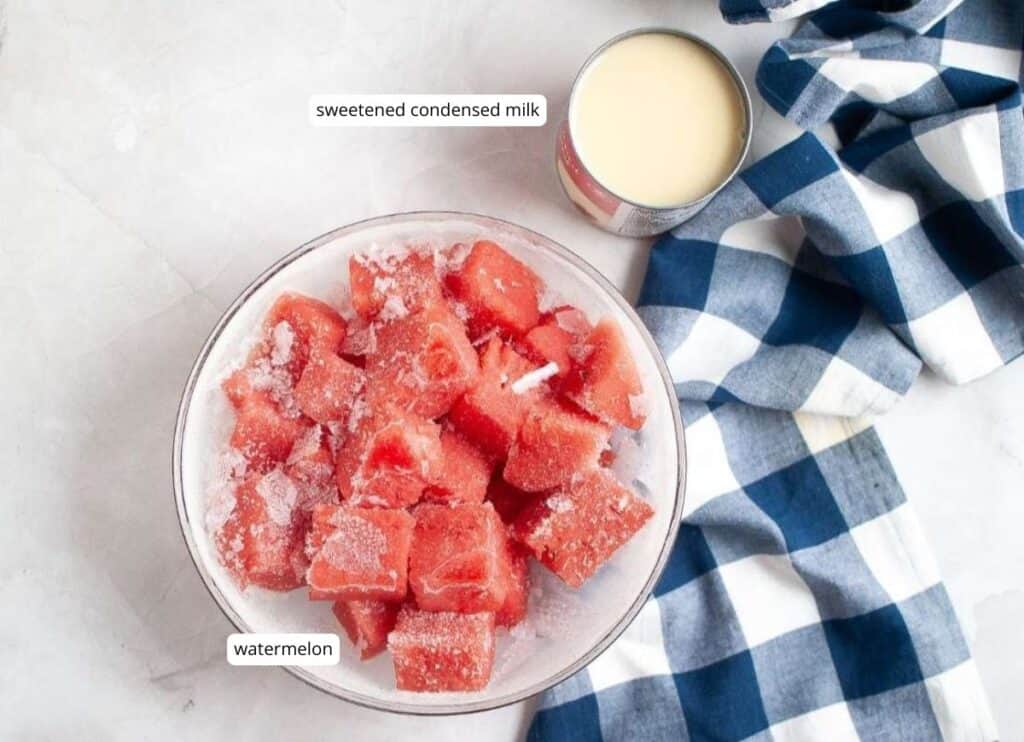
Ingredients
- Watermelon – You want a ripe, deeply red-fleshed watermelon with maximum natural sweetness. Seedless is easiest, but seeded works fine if you strain well. A mealy or pale watermelon will produce a flat-tasting sherbet.
- Sweetened condensed milk – One standard 14 oz can. This is what gives the sherbet its creamy texture and binds the freeze. Don’t substitute evaporated milk; the sweetness and fat content are different and the texture won’t be right.
How To Make 2-Ingredient Watermelon Sherbet
Scroll down for the full recipe card with exact measurements and printable instructions.
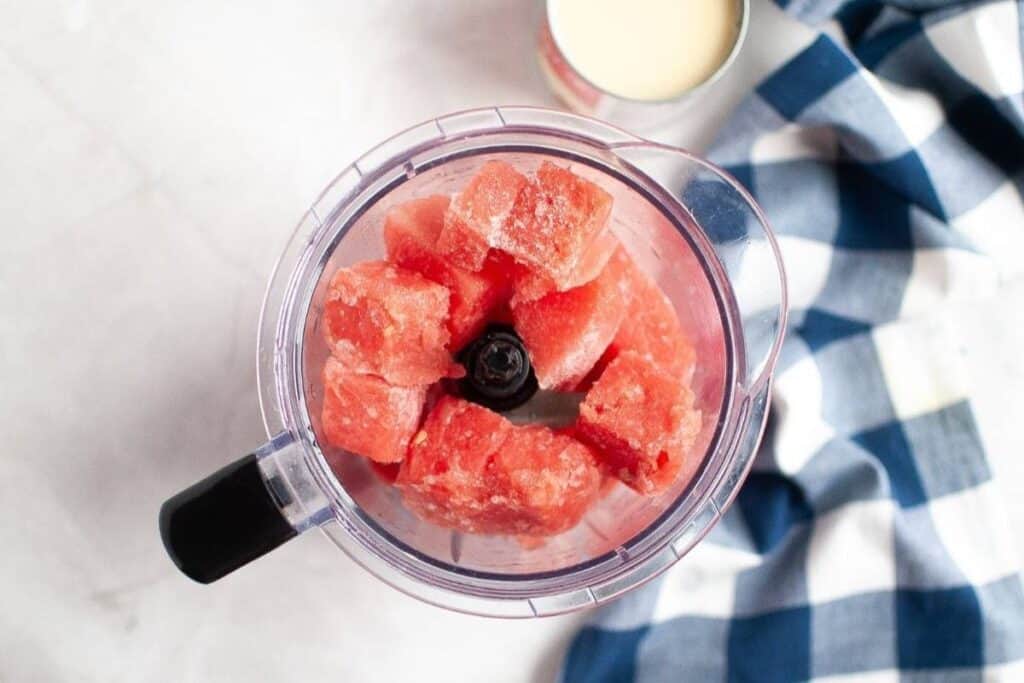
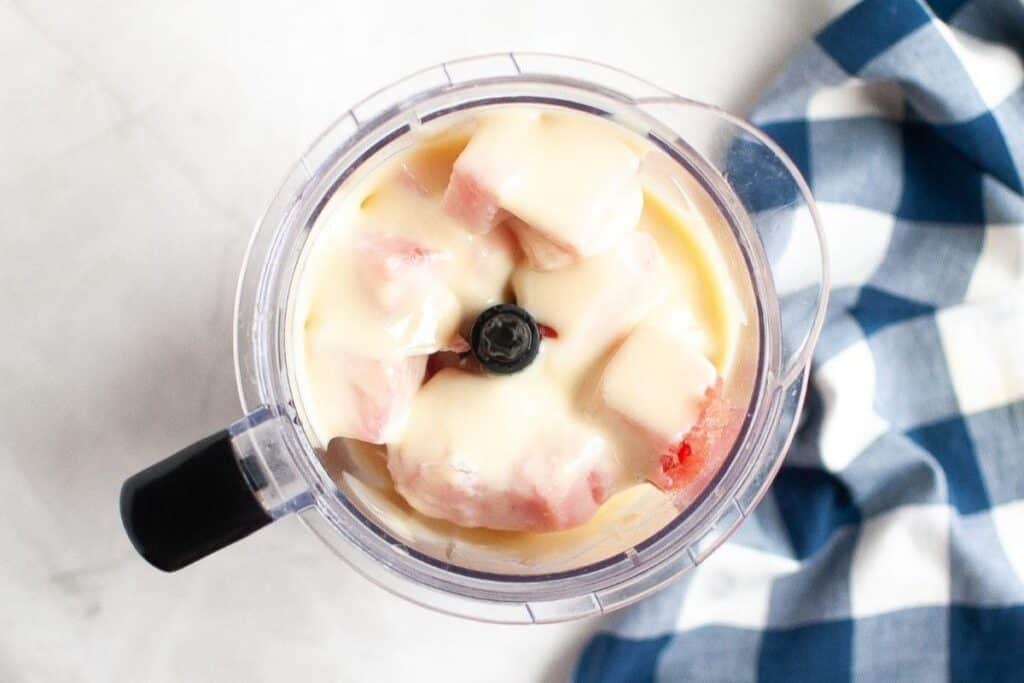
Cut your watermelon into chunks and remove any seeds. You’ll want roughly 6 cups of cubed watermelon for a standard batch. Work in a clean, dry bowl and keep everything cold.
Add the watermelon to a blender and puree until completely smooth. If your watermelon has any fibrous texture, pour the puree through a fine mesh strainer before moving on. A smooth base is non-negotiable here.
Pour in the sweetened condensed milk and stir to combine. Taste the mixture at this stage. A ripe watermelon shouldn’t need anything else, but if yours is on the mild side, a squeeze of lime juice can bring up the flavor without complicating the recipe.
Pour the mixture into a shallow, freezer-safe pan or baking dish. A wider, shallower vessel freezes more evenly and gives you better texture. Cover tightly with plastic wrap.
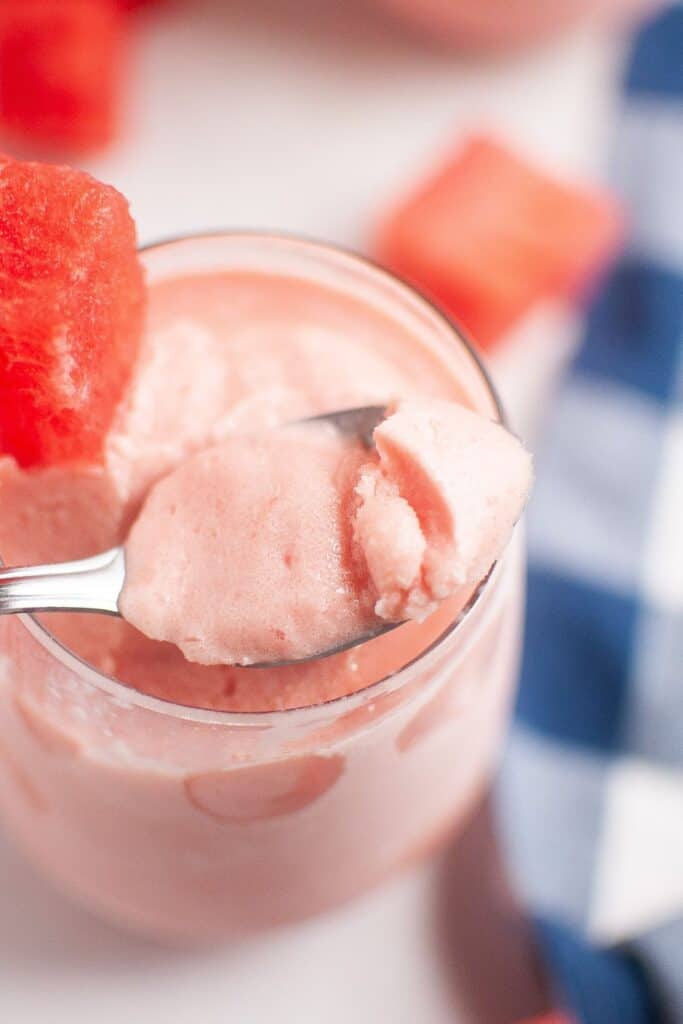
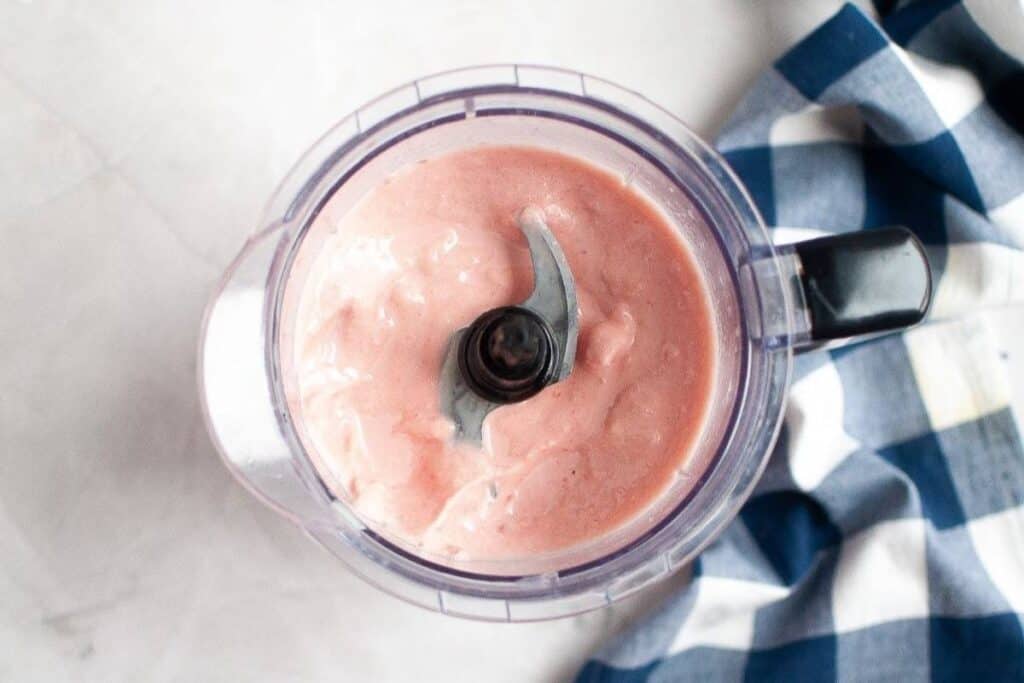
Freeze for at least 4 hours, or until solid. Once fully frozen, break the sherbet into chunks and run it through the blender or food processor until smooth and creamy. Work fast here; you want it uniform, not melted.
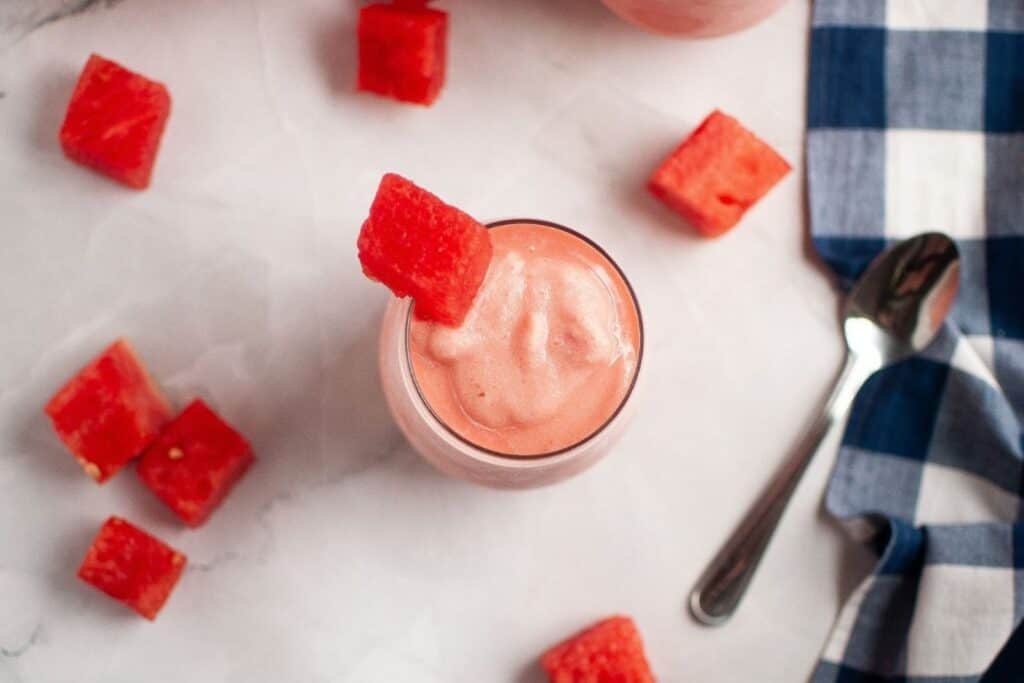
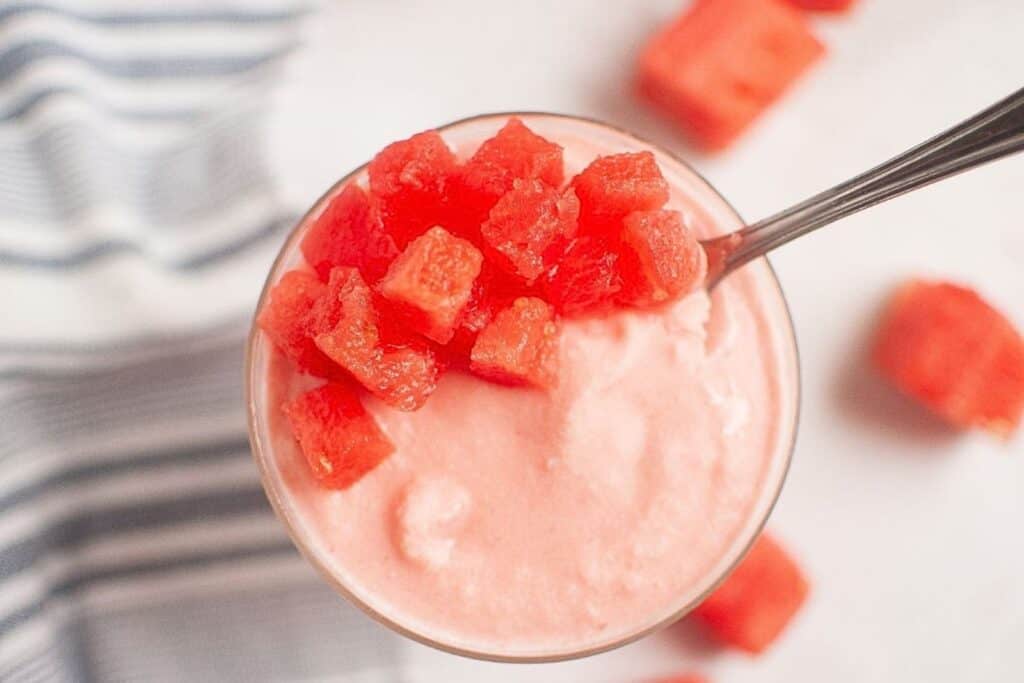
Transfer to a freezer-safe container, smooth the top, and freeze for another 2 hours before scooping. Pull it out 5 minutes before serving so it scoops cleanly.
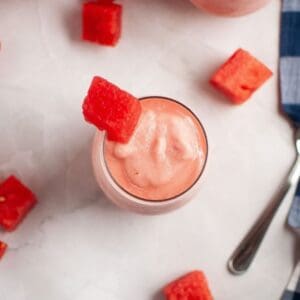
Serving Suggestions
I serve this after a heavy summer spread, where something cold and fruit-forward is exactly what the table needs. Try it alongside my Ambrosia Salad for a full retro summer dessert spread, or follow a summer cookout with a scoop of this and a slice of Pineapple Upside Down Cake for the kind of old-school dessert table that doesn’t see enough summer cookouts anymore. If you’re building a picnic menu, Classic Lemonade is the obvious companion.
Storage
Store tightly covered in the freezer for up to 2 weeks. Texture is best in the first week; longer storage can produce ice crystals. Let it sit at room temperature for 5 minutes before scooping. This sherbet does not refrigerate well. Keep it frozen until you’re ready to serve.
Frequently Asked Questions
No. This recipe uses a blender-and-freeze method, no machine required. The double-freeze process (freeze flat, blend, freeze again) is what gives you the smooth texture without the machine.
Yes, and it’s the easier option. If you use a seeded watermelon, strain the puree well before adding the second ingredient. Any seeds or seed fragments left in will affect texture.
Plan on at least 6 hours total: roughly 4 hours for the first freeze, then another 2 hours after the blending step. Overnight works well if you want to make it ahead.
I don’t recommend it for this recipe. The fat and sugar in sweetened condensed milk are doing specific work here. A lower-fat substitute will give you an icier, less creamy result.
2-Ingredient Watermelon Sherbet Recipe
Ingredients
- 4 cups cubed seedless watermelon frozen
- 1 cup sweetened condensed milk
Instructions
- Cut watermelon into chunks, removing any seeds. Measure 6 cups.
- Add watermelon to a blender and puree until completely smooth.
- If the puree has any fibrous texture, strain through a fine mesh strainer into a bowl.
- Stir sweetened condensed milk into the watermelon puree until fully combined.
- Pour the mixture into a shallow, freezer-safe baking dish or pan. Cover tightly with plastic wrap.
- Freeze for 4 hours, or until solid.
- Break the frozen mixture into chunks and transfer to a blender or food processor. Blend until smooth and creamy. Work quickly.
- Pour into a freezer-safe container, smooth the top, and cover tightly.
- Freeze for an additional 2 hours before serving.
- Remove from the freezer 5 minutes before scooping to soften slightly.
Video
Notes
Recipe Card Tips
- The double-freeze and blend method is what makes this creamy instead of icy. Don’t skip the second blending step.
- A shallow pan for the first freeze matters. A deep container freezes unevenly and leaves the center soft while the edges are solid. A 9×13 baking dish works well.
- If your watermelon tastes flat raw, it will taste flat frozen. Taste the puree before you freeze it. A genuinely ripe watermelon needs nothing else; a mild one might benefit from a squeeze of lime.
Nutrition
A Note on Nutritional Information
Nutritional information for this recipe is provided as a courtesy and is calculated based on available online ingredient information. It is only an approximate value. The accuracy of the nutritional information for any recipe on this site cannot be guaranteed.