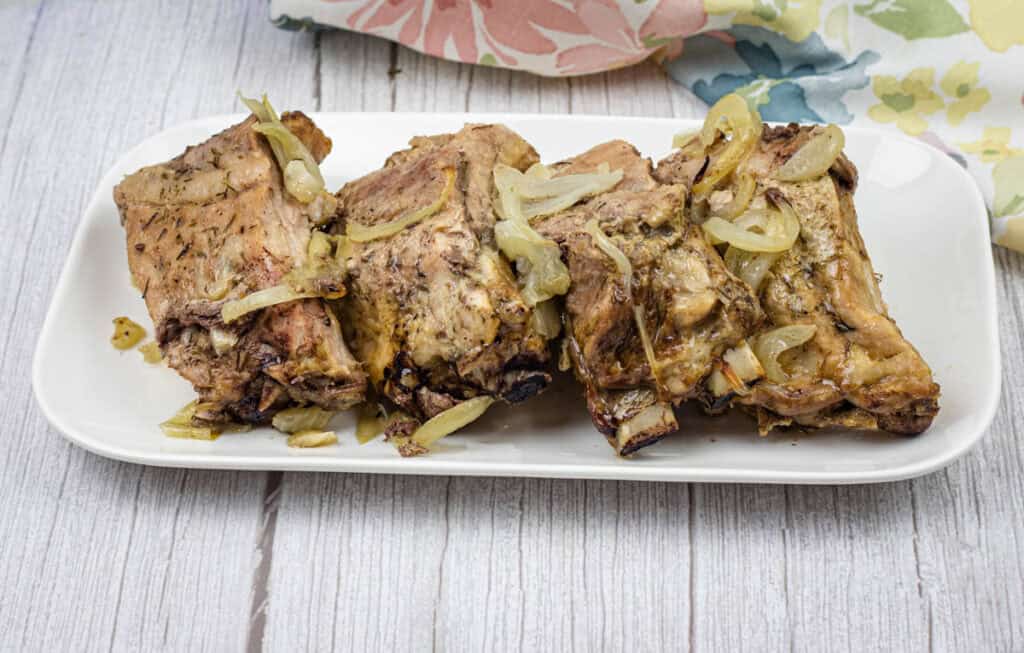
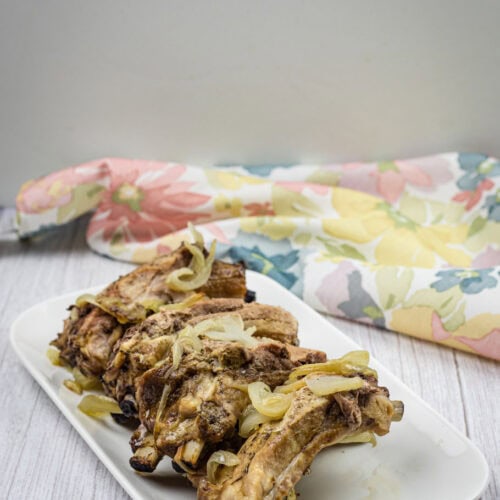
There’s nothing quite like a meal that’s all about comfort and flavor, and these Old-Fashioned Oven-Baked Ribs hit the mark every time. Slow-cooked to perfection, these ribs are packed with juicy, fall-off-the-bone goodness. Plus, they’re super easy to make, making them a perfect go-to for any occasion!
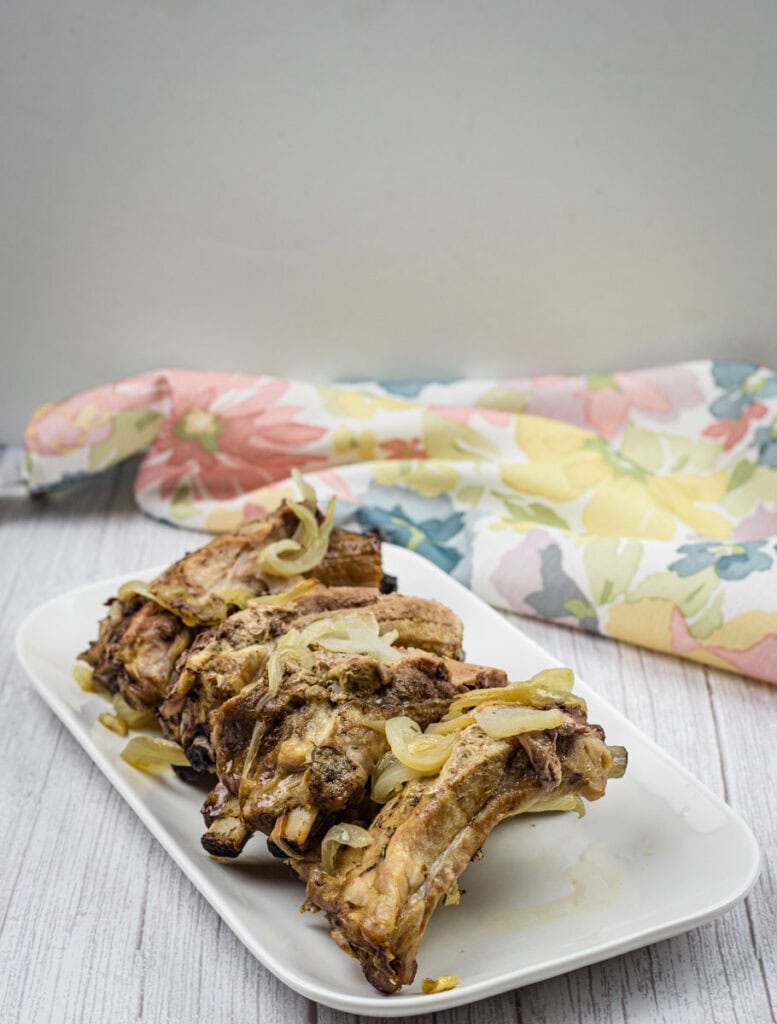
The tender, flavorful meat is the star of the show here, and the simple blend of garlic, onions, and spices makes each bite a delight. With just the right amount of golden caramelization on the outside, these ribs are the definition of delicious comfort food.
I love serving these oven-baked ribs for family dinners or weekend gatherings, and they always get rave reviews! You can even prep the ribs ahead of time and let them slowly cook while you relax—perfect for making life a little easier and tastier.
The key to these ribs is all in the slow, low cooking method. It lets the flavors develop beautifully and makes sure every bite is melt-in-your-mouth tender. Pair them with your favorite sides, and you’ve got a meal that’s sure to please everyone!
History
Oven-baked ribs have been a beloved dish in home kitchens since at least the mid-20th century, bringing the rich flavors of outdoor grilling indoors. While ribs have been a staple in American barbecue culture for centuries, the convenience of oven-baking, which gained popularity around the 1950s, made them accessible to everyone, regardless of the weather or access to a grill. This method, often associated with Southern cooking traditions, allows for slow, controlled cooking that tenderizes the meat while infusing it with a deep, smoky flavor, all without the need for a smoker or hours of tending a fire. The result is a dish that’s both comforting and crowd-pleasing, perfect for family dinners or casual gatherings.
Ingredients
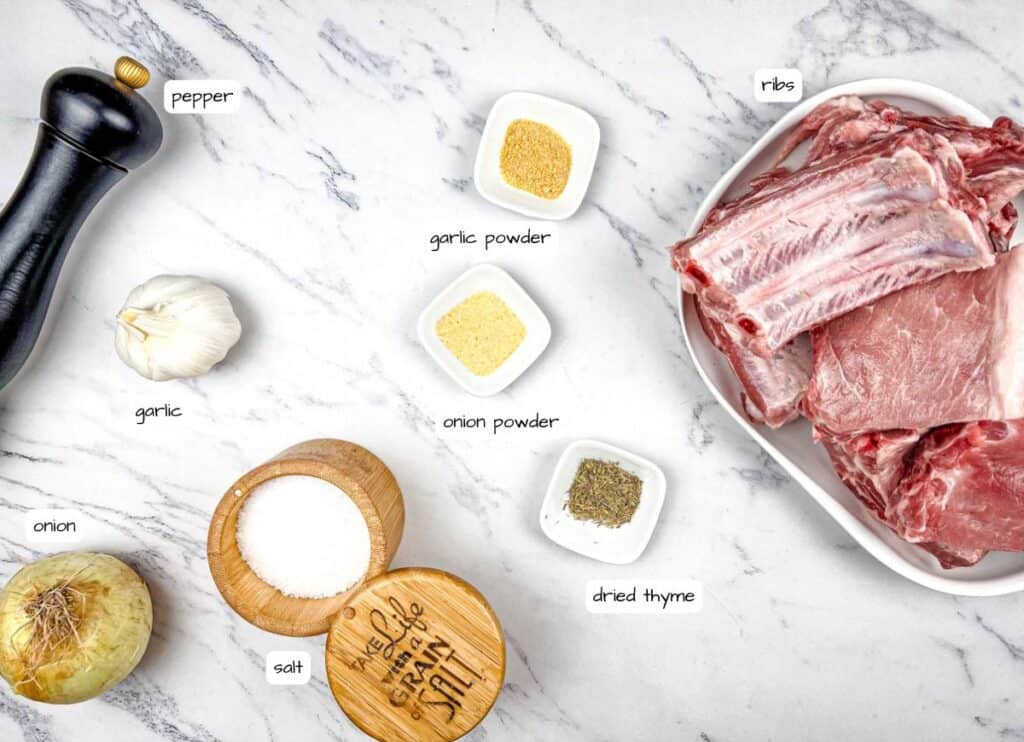
- Ribs
- Onion
- Garlic
- Garlic powder
- Onion powder
- Dried thyme
- Salt and pepper
How To Make Oven Bakes Ribs
- Preheat your oven to 300°F.
- Rinse the ribs under cool running water to remove any bone chips then pat dry with paper towels.
- Remove the silver skin from the back of the ribs if needed. See my tips below.
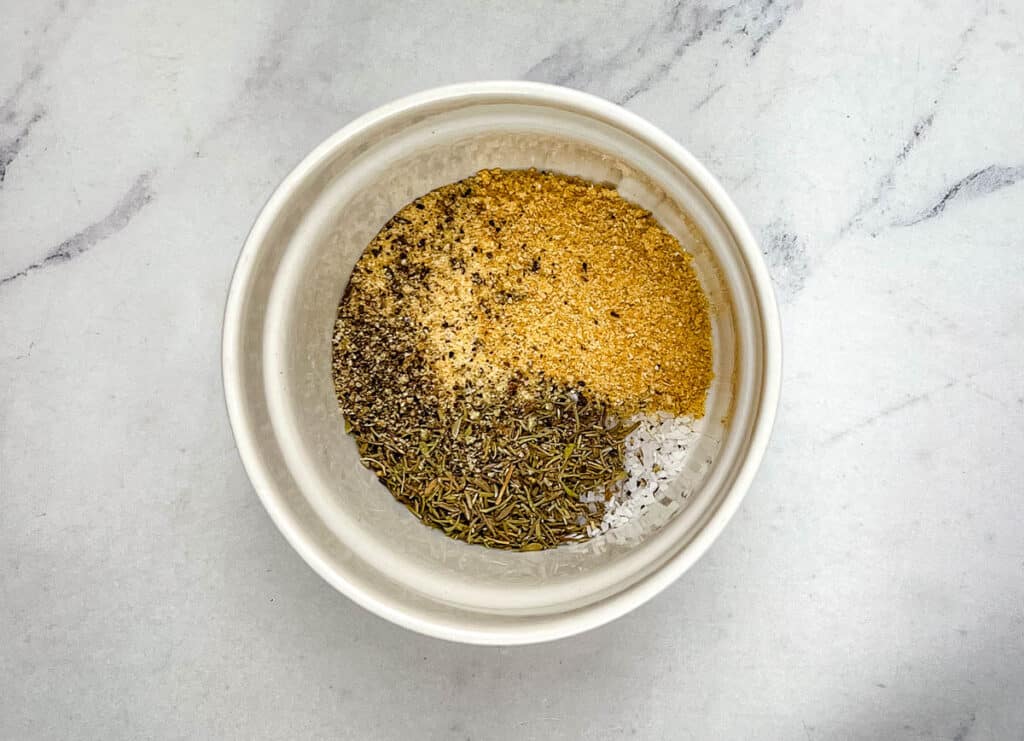
- Combine the garlic powder, onion powder, dried thyme, salt and pepper in a small bowl and sprinkle evenly over the ribs.
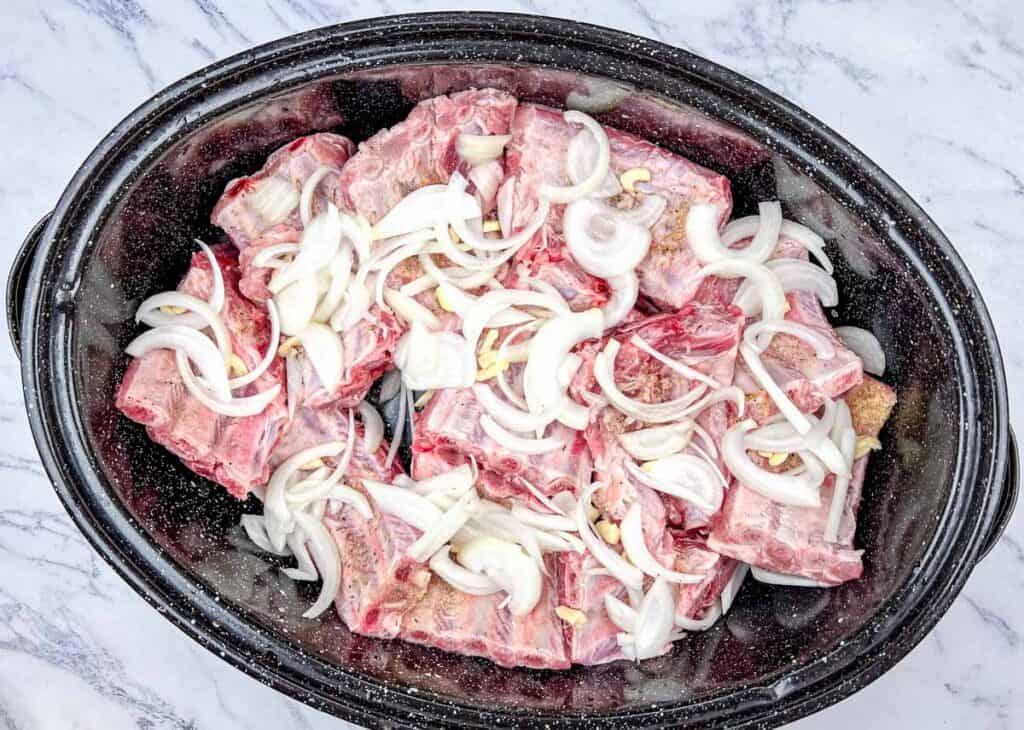
- Cut the ribs into sections of 2 or 3 bones and lay them in a large baking dish with a fitted lid (or you can use foil). Place them meaty side down.
- Scatter the sliced garlic over the top, followed by the onions.
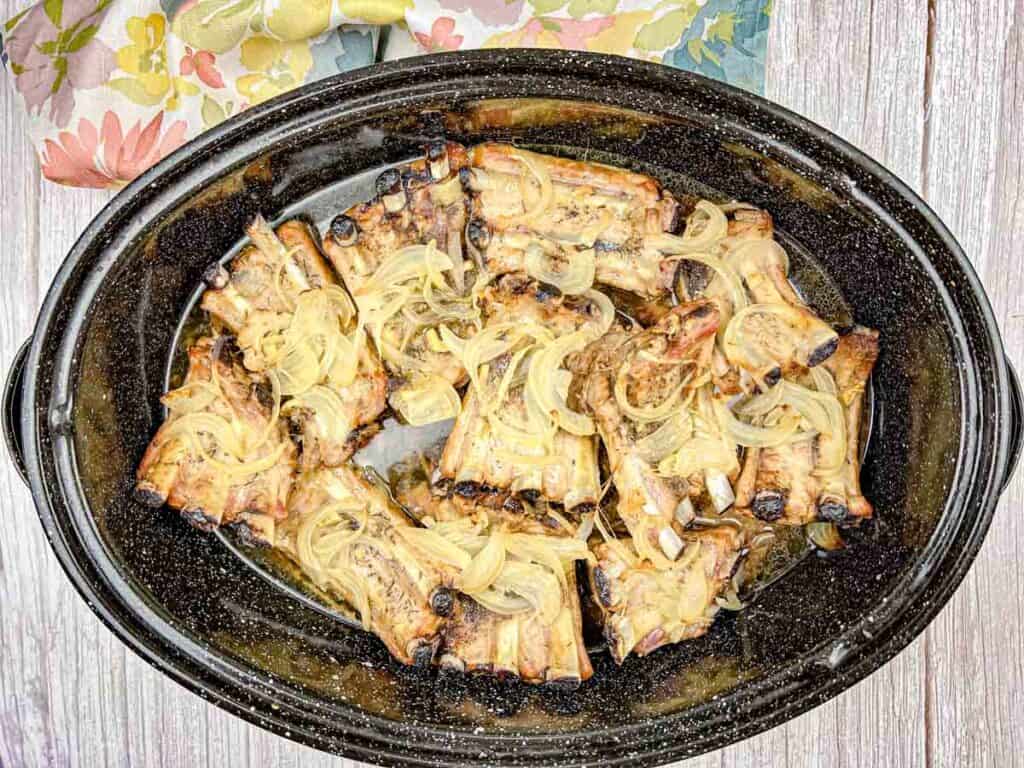
- Cover the baking dish with foil or the lid and bake at 300°F for about 2 hours or until the ribs are tender and pulling away from the bones slightly, but not falling off the bone too easily.
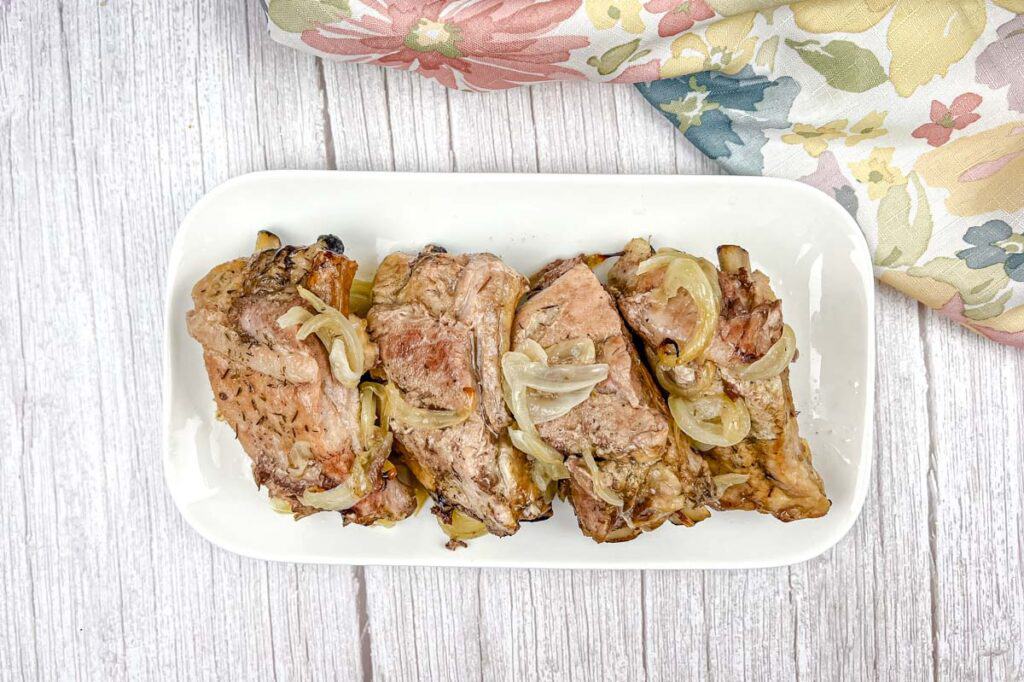
- Drizzle some of the cooking liquid over the tops of the ribs and top with the melty onions and garlic before serving.
- Dig in!
Step-By-Step Process

Chef Jenn’s Tips
- To remove the silver skin on the back of the ribs, cut away a small section with a sharp paring knife, enough so you can grip it with a paper towel. Then, pull the silver skin off the meat. It should come away with a bit of a tug.
- You can easily divide this dish in half if you don’t want to make the full amount.
- Cooking the ribs meaty side down ensures they cook low and slow in the braising liquid they create, resulting in incredibly delicious ribs.
- If you want a bit of a crispy finish, after baking, pop the ribs under the broiler for a couple of minutes to caramelize the surface. Just keep a close eye on them so they don’t burn.
- For fall-off-the-bone tenderness, let the ribs rest in the covered dish for 10-15 minutes after baking. This allows the juices to redistribute, making the meat even more tender and juicy.
Make It A Meal
Serve these Oven Baked Ribs alongside classic sides like creamy mashed potatoes, roasted vegetables, or fresh coleslaw for a satisfying, hearty meal. If you’re feeling indulgent, add some buttery cornbread to the mix!
Storage
Store any leftovers in an airtight container in the refrigerator for up to 3 days. If you want to freeze them, wrap the ribs tightly in foil or plastic wrap and place them in a freezer-safe bag. They’ll keep well for up to 3 months. To reheat, thaw overnight in the fridge and warm them in the oven at 300°F until heated through.
Oven Baked Ribs
Ingredients
- 2 rack ribs about 3-4 pounds
- 1 onion sliced thinly
- 6 cloves garlic sliced thinly
- 1 teaspoon onion powder
- 1 teaspoon garlic powder
- ½ teaspoon dried thyme
- salt and pepper
Instructions
- Preheat your oven to 300°F.
- Rinse the ribs under cool running water to remove any bone chips then pat dry with paper towels.
- Remove the silver skin from the back of the ribs if needed. See my tips below.
- Combine the garlic powder, onion powder, dried thyme, salt and pepper in a small bowl and sprinkle evenly over the ribs.
- Cut the ribs into sections of 2 or 3 bones and lay them in a large baking dish with a fitted lid (or you can use foil). Place them meaty side down.
- Scatter the sliced garlic over the top, followed by the onions.
- Cover the baking dish with foil or the lid and bake at 300°F for about 2 hours or until the ribs are tender and pulling away from the bones slightly, but not falling off the bone too easily.
- Drizzle some of the cooking liquid over the tops of the ribs and top with the melty onions and garlic before serving.
- Dig in!
Notes
Chef Jenn’s Tips
- To remove the silver skin on the back of the ribs, cut away a small section with a sharp paring knife, enough so you can grip it with a paper towel. Then, pull the silver skin off the meat. It should come away with a bit of a tug.
- You can easily divide this dish in half if you don’t want to make the full amount.
- Cooking the ribs meaty side down ensures they cook low and slow in the braising liquid they create, resulting in incredibly delicious ribs.
- If you want a bit of a crispy finish, after baking, pop the ribs under the broiler for a couple of minutes to caramelize the surface. Just keep a close eye on them so they don’t burn.
- For fall-off-the-bone tenderness, let the ribs rest in the covered dish for 10-15 minutes after baking. This allows the juices to redistribute, making the meat even more tender and juicy.